6 Proven Tips in This Moon Photography Camera Settings Guide

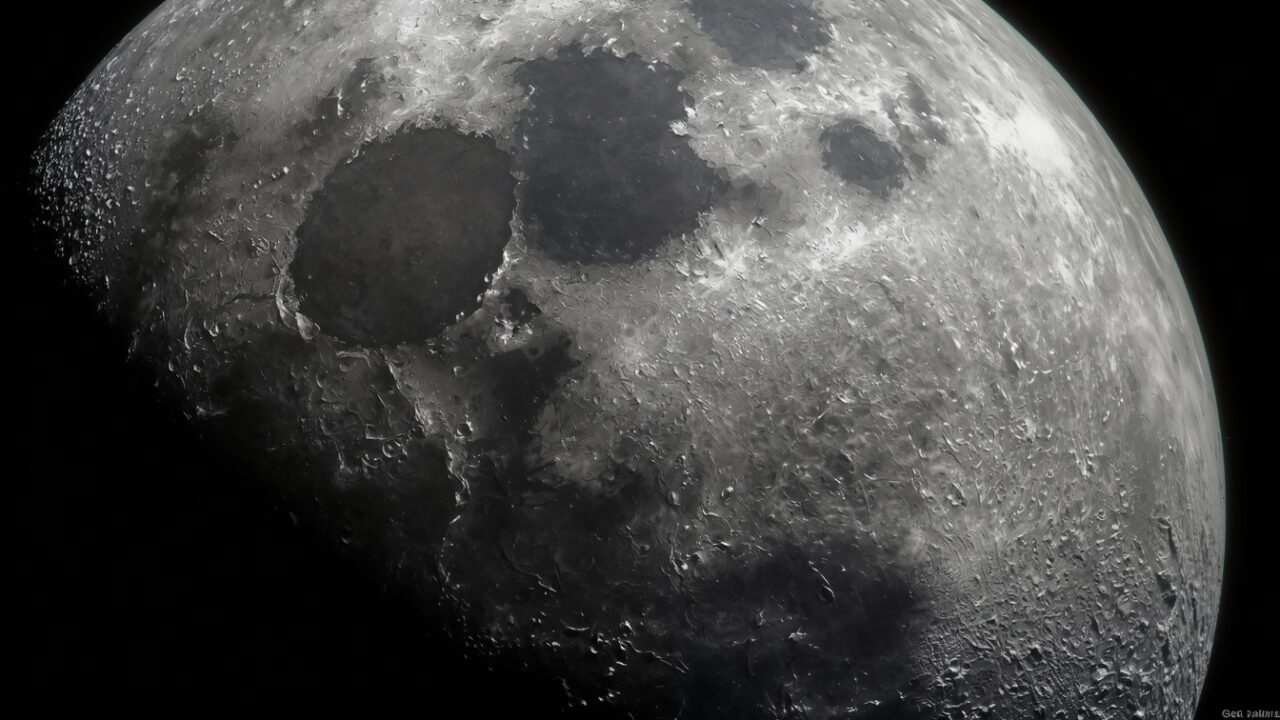
Moon Photography Camera Settings Guide:
Unlike faint deep-sky objects, the Moon is bright enough to require a completely different photography approach, and this Moon photography camera settings guide covers exactly what adjustments produce sharp, detailed lunar images rather than the overexposed white blob many beginners initially capture.
Why the Moon Requires Different Settings Than Stars
Since the Moon reflects intense sunlight, it actually requires settings closer to daytime photography than typical dark night sky photography, despite being photographed at night alongside much fainter stars.
Recommended ISO Settings
For sharp, detailed lunar images, this Moon photography camera settings guide recommends relatively low ISO values, typically between 100 and 400, since the Moon’s brightness provides plenty of light without requiring high sensitivity settings that would otherwise introduce unnecessary noise.
Shutter Speed for Sharp Detail
Fast shutter speeds, typically between 1/125 and 1/250 of a second, form a core recommendation within this Moon photography camera settings guide, freezing any subtle atmospheric movement or camera shake that could otherwise blur fine surface detail like craters and mountain ranges.
Aperture Considerations
Since the Moon provides ample light, this Moon photography camera settings guide suggests moderate apertures around f/8 to f/11 often produce the sharpest results, avoiding both the potential softness of very wide apertures and any diffraction softening that can occur at extremely narrow apertures.
Lens and Focal Length Requirements
Capturing detailed lunar surface features requires significant focal length, and this Moon photography guide recommends at least 300mm, with many enthusiasts using 600mm or longer, or dedicated telescopes, to capture genuinely detailed crater and mare formations across the lunar surface.
The “Looney 11” Rule
A helpful starting reference within this Moon photography guide is the “Looney 11” rule — setting aperture to f/11 and shutter speed to match your ISO setting (for example, 1/100 second at ISO 100), providing a reliable baseline easily adjusted based on specific lunar phase brightness.
Adjusting for Different Moon Phases
A full moon requires different settings than a crescent or half moon, since full moons appear notably brighter and flatter in detail, while partial phases often reveal more dramatic crater shadow detail along the terminator line.
Using a Sturdy Tripod and Remote Shutter
Even with fast shutter speeds, this Moon photography guide recommends a sturdy tripod and remote shutter release or timer, minimizing any camera shake that could reduce sharpness, especially important when using longer telephoto lenses or telescopes.
Photographing the Full Moon
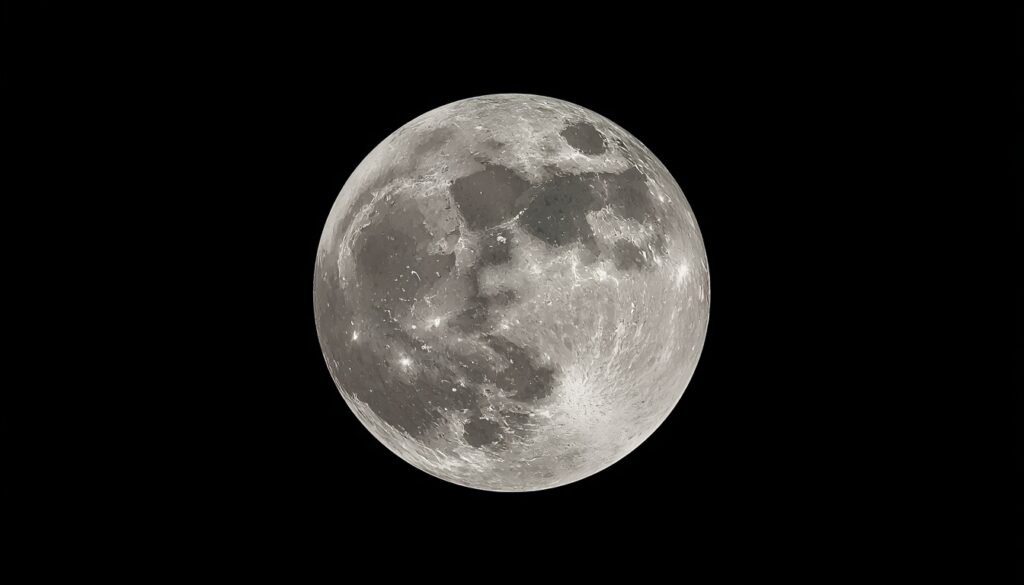
The full Moon is extremely bright and relatively flat-looking, since shadows are minimal. Fast shutter speeds and low ISO settings are needed to avoid overexposure.
Many photographers find the full Moon less interesting to photograph than other phases, since surface detail appears washed out.
Capturing Craters Along the Terminator
The terminator, the line between the lit and dark parts of the Moon, is where crater detail stands out most. Shadows cast by crater walls and mountains create dramatic relief.
Photographing the Moon near first or last quarter produces some of the most detailed images.
Stacking Video for Sharper Results
Many lunar photographers capture video rather than single frames. Software like AutoStakkert selects the sharpest frames and stacks them.
This reduces the effects of atmospheric turbulence and produces much sharper images than a single photo.
Photographing the Moon With Landscapes
Including the Moon in a landscape requires balancing the bright Moon and darker foreground. Photographers often take multiple exposures and blend them.
Planning tools help predict where the Moon will rise relative to landmarks, allowing creative compositions.
Earthshine on the Crescent
During crescent phases, the dark part of the Moon can glow faintly due to sunlight reflected from Earth. This is called earthshine.
Capturing earthshine requires longer exposures, which overexpose the bright crescent. Blending exposures helps capture both.
Lunar Eclipses
During a total lunar eclipse, the Moon turns red as sunlight passes through Earth’s atmosphere. Settings need to change dramatically during the eclipse, with longer exposures and higher ISO as the Moon darkens.
Following a Moon photography guide helps prepare for these changing conditions.
Seeing and Atmospheric Conditions
Atmospheric turbulence, known as seeing, affects image sharpness. Nights with steady air produce the best results.
Photographing the Moon when it is high in the sky reduces the amount of atmosphere its light passes through, improving clarity.
Suggested Starting Settings by Phase
For a full Moon, start around ISO 100, f/8 and 1/250 second. For a half Moon, open up slightly or lengthen the exposure to around 1/125 second. For a thin crescent, try ISO 200 to 400 and 1/60 second, adjusting based on your histogram.
These are starting points, not fixed rules. The Moon’s brightness varies with altitude, atmospheric conditions and phase, so always check your histogram. A Moon photography guide works best when you treat it as a starting point and adjust from there.
Focusing on the Moon
Use live view, zoom into the terminator where crater edges are sharp, and adjust focus manually until the detail is crisp. Autofocus often struggles on the Moon’s bright surface, especially at long focal lengths.
Refocus occasionally during long sessions, since temperature changes can shift focus slightly.
Processing Lunar Images
Gentle sharpening, contrast adjustments and noise reduction improve lunar images. Some photographers enhance color saturation to reveal subtle mineral differences across the lunar surface.
Avoid over-sharpening, which creates halos and unnatural edges around craters.
Start Simple
You do not need a telescope to photograph the Moon well. A telephoto lens of 300 millimeters or more on a tripod, a fast shutter speed and careful focus can produce detailed crescent and quarter Moon images that look great in print.
Common Mistakes With Moon Photos
The most common mistake is overexposing the Moon, which turns it into a white disk with no detail. Another is using too slow a shutter speed at long focal lengths, which blurs the image because the Moon moves quickly across the frame.
Trust your histogram, keep shutter speeds fast and refocus often. These three habits solve most problems beginners face with lunar photography.
Final Thoughts
Successful lunar photography requires treating the Moon more like a bright daytime subject than a typical faint night sky object, prioritizing low ISO, fast shutter speed, and sufficient focal length for genuinely sharp, detailed results.
Keep exploring with our guides to DSLR settings for night sky photography, Moon phases observation guide and Deep sky astrophotography camera settings. For official information, visit NASA’s Artemis program page.
Frequently Asked Questions
What ISO should I use for moon photography?
Typically low, between 100 and 400, since the Moon provides ample natural light.
What shutter speed works best?
Fast shutter speeds, around 1/125 to 1/250 of a second, to freeze detail sharply.
What is the Looney 11 rule?
A guideline setting aperture to f/11 and shutter speed to match your ISO for balanced exposure.
What focal length do I need for detailed moon shots?
At least 300mm, with 600mm or longer, or a telescope, for finer surface detail.
Do different moon phases need different settings?
Yes, full moons appear brighter and flatter, while partial phases show more dramatic shadow detail.
Keep exploring