8 Essential DSLR Settings for Night Sky Photography Success

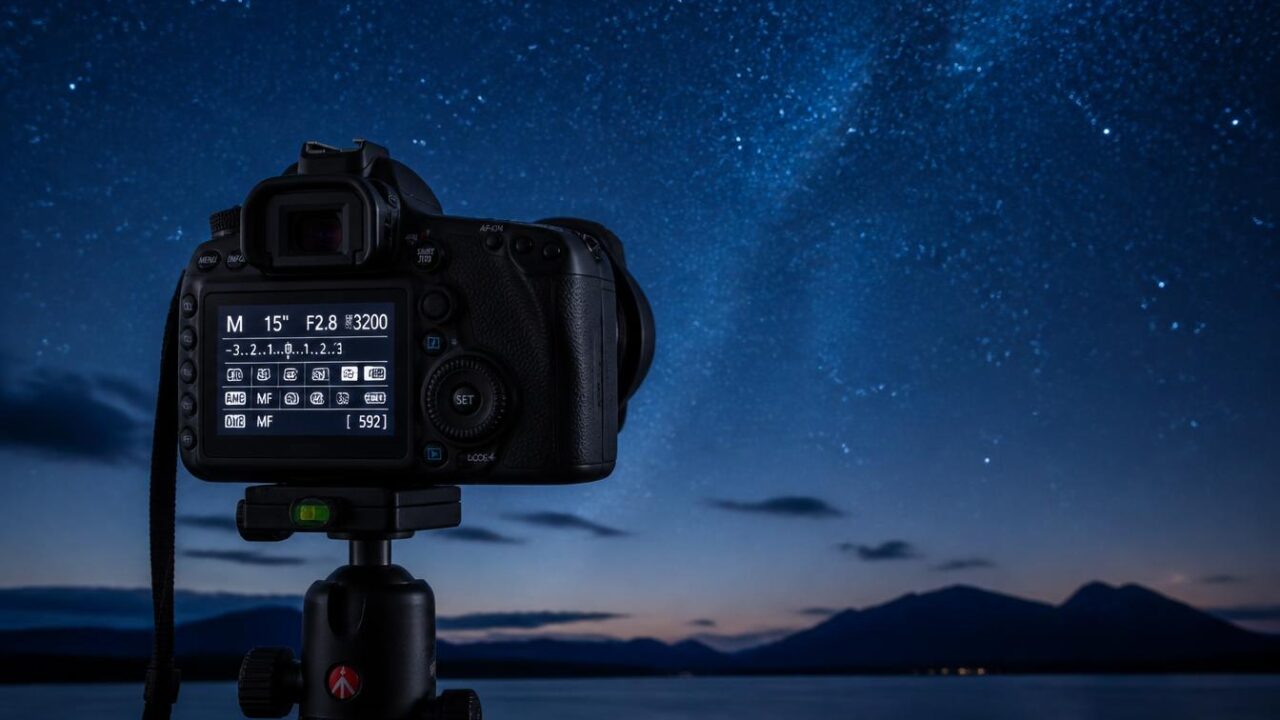
8 Essential DSLR Settings for Night Sky Photography:
Getting DSLR settings for night sky photography right can mean the difference between a blurry, noisy image and a stunning, detailed capture of the stars above. This guide breaks down the essential camera settings every beginner needs to understand before heading out for a night of astrophotography.
Shooting in Manual Mode
The foundation of proper camera setting starts with switching your camera entirely to manual mode, giving you complete control over exposure, aperture, and ISO rather than relying on automatic settings designed for daytime photography conditions.
Choosing the Right ISO
Night sky photography typically requires higher ISO settings than daytime shooting, often between 1600 and 3200, depending on your specific camera’s noise performance. The recommendations balance capturing enough light against introducing excessive digital noise into your final image.
Aperture Settings for Maximum Light Gathering
Using the widest aperture your lens allows, typically f/2.8 or wider, is a core principle within these camera settings, since maximizing light intake becomes crucial when photographing faint stars and deep-sky objects in low-light conditions.
Understanding the 500 Rule for Exposure Time
To avoid star trailing without a tracking mount, these camera settings commonly reference the “500 rule” — dividing 500 by your lens’s focal length to estimate the maximum exposure time in seconds before stars begin visibly streaking due to Earth’s rotation.
Manual Focus Techniques
Autofocus typically fails in low-light conditions, making manual focus essential. Proper DSLR settings for night sky photography involve using your camera’s live view feature, zooming in on a bright star, and carefully adjusting focus until the star appears as a sharp, small point of light.
Shooting in RAW Format
Always shooting in RAW rather than JPEG format is a critical component of these camera settings, since RAW files retain significantly more image data, allowing for much greater flexibility during post-processing without introducing compression artifacts.
White Balance Considerations
While white balance can be adjusted later when shooting RAW, setting it manually to around 3800-4200K during capture within your camera setting workflow often provides a more accurate preview of your final image’s color balance while shooting.
Using a Remote Shutter or Timer
To avoid camera shake during exposure, proper camera setting always include either a remote shutter release or a built-in 2-second timer, preventing the slight vibration caused by manually pressing the shutter button from blurring your long-exposure images.
The NPF Rule for Sharper Stars
The 500 rule is simple, but on modern high-resolution cameras it can still produce slightly trailed stars. The NPF rule is a more precise formula that takes into account the camera’s pixel size, the lens’s aperture and focal length.
Apps like PhotoPills calculate the NPF result for you. Using it often gives shorter maximum exposure times than the 500 rule, but the stars will look much sharper when you zoom in. It is worth learning if you print your images or view them at full resolution.
Long Exposure Noise Reduction: On or Off?
Many DSLRs offer a long exposure noise reduction setting, which takes a second dark frame after each shot to subtract noise. This doubles the time needed for each exposure, which cuts your shooting time in half.
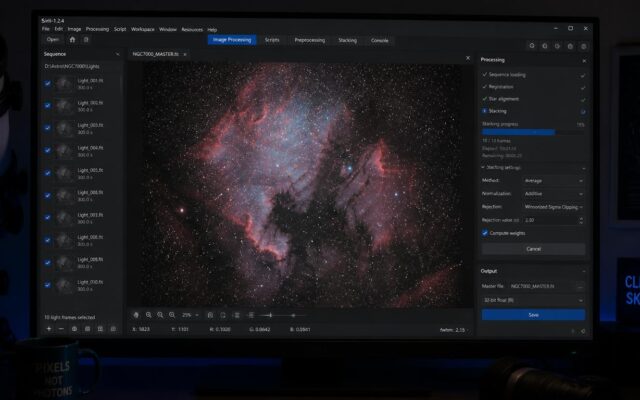
Most astrophotographers turn it off and instead take separate dark frames later, which can be applied during stacking. For single-shot Milky Way images, however, leaving it on can be a convenient way to get cleaner results without extra processing.
Using Live View to Focus
Achieving sharp focus at night is one of the biggest challenges. The best method is to use Live View, zoom in digitally on a bright star, and slowly adjust the focus ring until the star appears as small as possible.
A Bahtinov mask, a simple plastic cover with slotted patterns, makes this even easier. It creates diffraction spikes around a bright star, and perfect focus is achieved when the central spike sits exactly in the middle.
Protecting Your Night Vision and Your Settings
Lower your camera’s screen brightness and use a red flashlight to preserve your night vision while adjusting settings. Bright screens can ruin your eyes’ dark adaptation, which takes around 20 to 30 minutes to recover.
Tape the focus ring once you achieve perfect focus to prevent accidental changes. Many photographers also save their night settings as a custom mode on the camera dial, allowing them to switch quickly between daytime and night shooting.
Test Shots and the Histogram
Always take test shots and check the histogram rather than judging exposure from the screen. In a dark environment, images look brighter on the screen than they actually are.
A good night sky exposure will have the histogram peak separated from the left edge, roughly a third of the way across. This ensures you capture enough signal without clipping the shadows.
Dealing With Cold Weather
Cold weather drains camera batteries quickly. Bring spare batteries and keep them warm in an inside pocket. Some photographers use external battery packs or dummy batteries powered by USB.
Cold temperatures can also help reduce sensor noise, which is good for image quality. However, condensation can form on lenses when moving between warm and cold environments, so allow gear to adjust gradually.
Planning Around the Moon
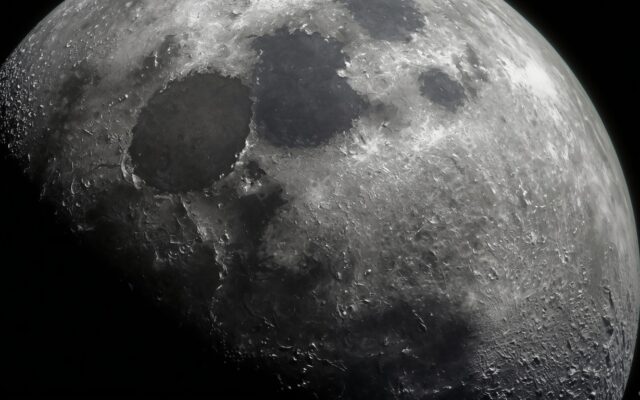
Moonlight washes out faint stars and the Milky Way. The best nights for these camera settings are around the new Moon, when the sky is darkest.
Apps and websites show Moon phases and rise and set times, helping you plan sessions when the Moon is below the horizon. Even a crescent Moon can significantly brighten the sky, so timing is important.
Settings Cheat Sheet
As a starting point, try manual mode, ISO 1600 to 3200, the widest aperture your lens handles well, 15 to 20 seconds with a wide lens, RAW format, manual focus and white balance around 3800 to 4200 Kelvin. Adjust from there based on your histogram and sky conditions.
Final Thoughts
Mastering these core DSLR settings for night sky photography — manual mode, appropriate ISO, wide aperture, careful exposure timing, and manual focus — provides the technical foundation needed to consistently capture sharp, detailed images of the night sky, regardless of your specific camera model.
Keep exploring with our guides to Long exposure night sky photography guide, Deep sky astrophotography camera settings, Moon photography camera settings guide and Astrophotography focus techniques guide. For official information, visit NASA’s skywatching tips.
Frequently Asked Questions
What ISO should I use for night sky photography?
Typically between 1600 and 3200, depending on your camera’s noise performance.
What is the 500 rule?
Dividing 500 by your lens’s focal length estimates maximum exposure time before star trailing occurs.
Should I shoot in RAW or JPEG?
Always RAW, since it retains far more data for flexible post-processing.
Why does autofocus fail at night?
Low-light conditions typically prevent autofocus systems from locking onto faint stars accurately.
What aperture setting works best?
The widest your lens allows, typically f/2.8 or wider, to maximize light gathering.
Keep exploring
2 comments